

If you’re building a tiny gadget or a wearable and feel unsure about batteries, you’re not alone. Good news: you don’t need to be a battery expert to choose, integrate, and charge a small lithium polymer (LiPo) cell safely. In this friendly guide, we’ll demystify the essentials, give you a beginner‑safe default setup, and walk through simple sizing math so your device runs as long (and safely) as you expect in 2025 and beyond.
What exactly is a small LiPo—and why do wearables love them?
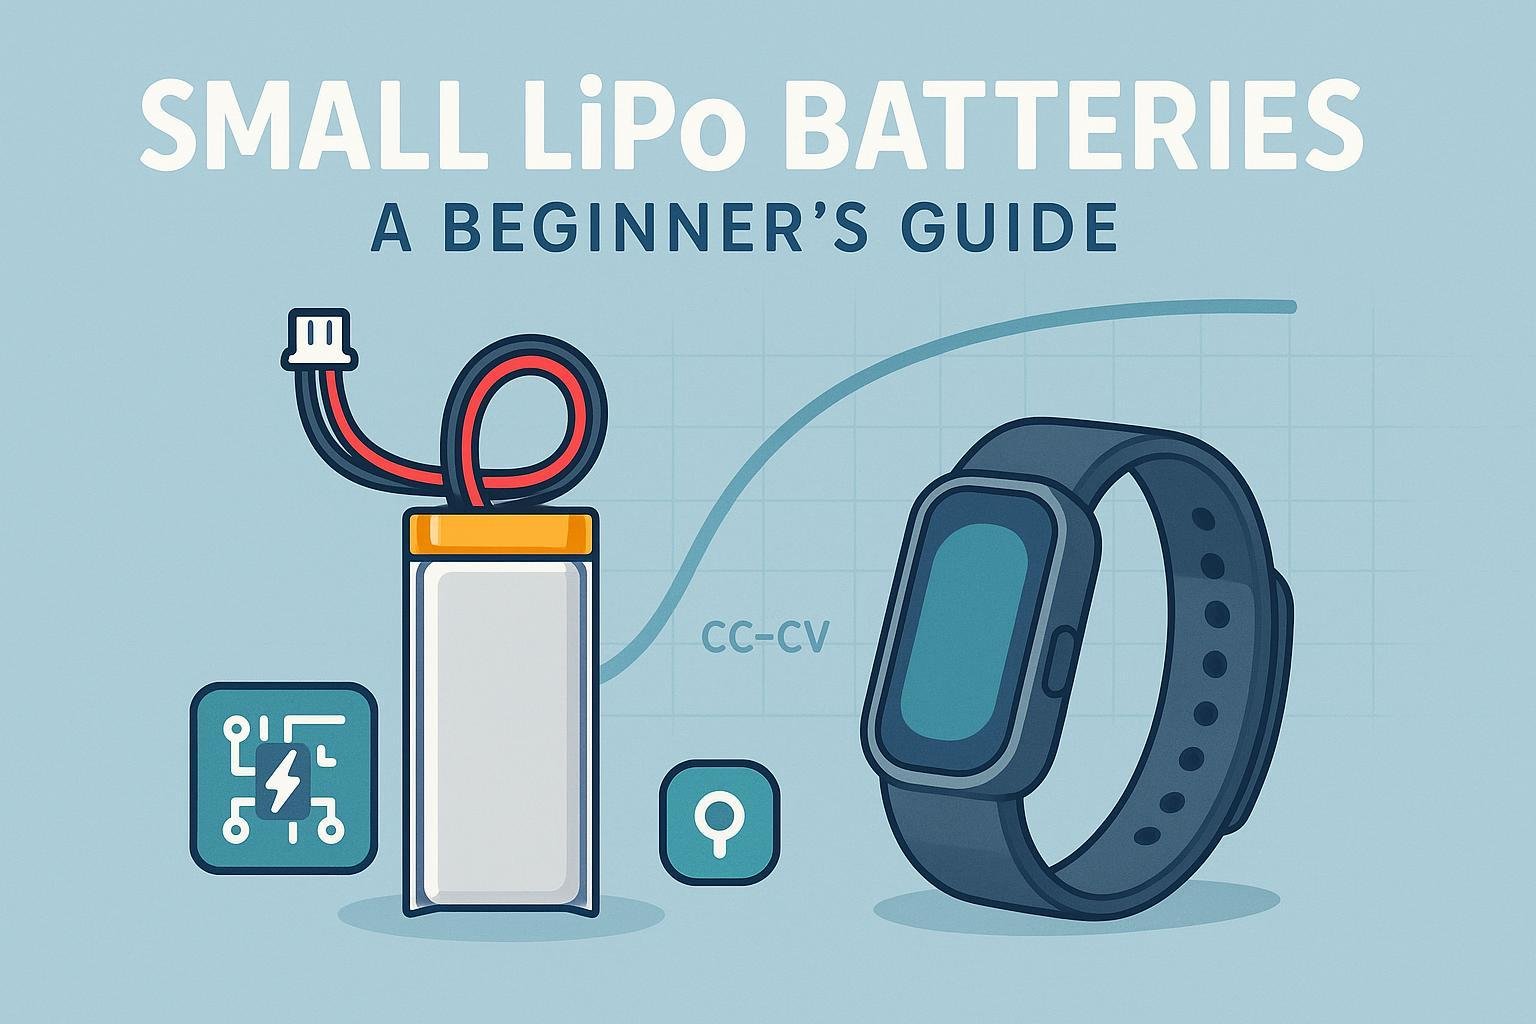
A small LiPo is a single lithium‑ion cell packaged in a thin, flexible pouch. Think of it as a flat “fuel tank” that stores energy efficiently in a compact shape. Designers pick LiPo pouches for wearables because they’re:
- Thin and light (fits in bands, clips, badges)
- Customizable in footprint and thickness
- Available in small capacities (tens to hundreds of mAh)
The trade‑offs: pouch cells need careful mechanical protection (don’t bend, crush, or puncture), correct charging, and basic electronic protection.
Specs in plain English (the only ones you really need)
Here’s how to read the most common battery specs without jargon.
Voltage (1S LiPo):
- Nominal: 3.7 V (that’s the “average” label you’ll see).
- Full: about 4.2 V.
- “Empty”: plan a low‑voltage cutoff around 3.2–3.3 V in firmware to preserve lifespan; the tiny protection board many packs include will usually hard‑cut somewhere around 2.8–3.0 V (varies by design; see PCM section below).
Capacity (mAh):
- How big your “fuel tank” is. A 500 mAh cell can (ideally) supply 500 mA for about 1 hour, or 50 mA for about 10 hours. Real runtime is lower due to losses and temperature.
C‑rating (discharge capability):
- Think “tap size.” A 1C rating means the cell can (continuously) provide a current equal to its capacity in amps. Formula:
Max continuous current (A) ≈ Capacity (Ah) × C. This definition and relationship are explained by both the Ossila C‑rate explainer et le Power Sonic C‑rating guide.
- Think “tap size.” A 1C rating means the cell can (continuously) provide a current equal to its capacity in amps. Formula:
Protection Circuit Module (PCM):
- Most small 3.7 V packs include a tiny protection board that guards against over‑charge, over‑discharge, and short circuit. Typical thresholds are configurable depending on the protection IC. For example, ABLIC’s S‑8261 protection IC family allows over‑charge detection around the low‑4‑volt range and over‑discharge around the upper‑2‑ to low‑3‑volt range (model‑dependent), illustrating why you should check your pack’s exact datasheet; see the ABLIC S‑8261 protection IC datasheet.
Connectors (the small but critical detail):
- Many small packs use the 2‑pin JST‑PH (2.0 mm pitch). For mechanical details and pin numbering conventions, see the official JST PH series datasheet. Warning: polarity is not universal across vendors. Some boards expect the red (+) lead on a specific side of the keyed housing; always verify with a meter and the board’s silkscreen/datasheet. Adafruit’s learn pages also call this out directly—double‑check before plugging in, as they warn in the Adafruit PowerBoost pinouts polarity note.
Take a breath. With those terms in your pocket, you can already make good choices.
The beginner‑friendly default (works for most compact devices)
If you’re unsure where to start, this setup covers 90% of beginner projects:
- Battery: single‑cell (1S) LiPo pouch, 200–500 mAh, with built‑in PCM protection.
- Connector: JST‑PH‑2.0 (verify polarity before mating).
- Regulation: a buck‑boost converter to deliver a stable system voltage (e.g., 3.3 V) across the full battery range (roughly 3.0–4.2 V).
- Charger: a simple single‑cell Li‑ion/LiPo charger using CC/CV to 4.2 V, with charge current set to about 0.5C for longevity. This CC/CV approach is standard in charger ICs such as the Analog Devices LTC4054‑4.2 datasheet and TI’s bq24073 charger family datasheet, which outline the constant‑current then constant‑voltage phases and typical termination behavior.
- Monitoring: at minimum, read battery voltage via your MCU’s ADC (through a resistor divider). For better accuracy, add a small fuel‑gauge IC.
- Mechanical: give the pouch gentle support and strain relief; avoid sharp bends and pressure points.
Temperature matters. A common manufacturer guidance for small Li‑ion polymer cells is to charge between about 0–45 °C and discharge between about −20–60 °C; see a representative spec summary on Epec’s pouch pack page: Epec “Prismatic Pouch Packs” temperature ranges. Don’t charge below freezing—lithium plating risk is real.
Size your battery step‑by‑step (simple worksheet)
Grab your average and peak current numbers (measure with a USB power meter, multimeter, or your dev board’s fuel‑gauge). Then do this:
- Define your target runtime (hours): e.g., 12 hours.
- Measure average current (mA): e.g., 25 mA including MCU, sensors, BLE.
- Estimate capacity:
Capacity (mAh) ≈ Average (mA) × Runtime (h) / 0.8.- The 0.8 factor adds reserve for converter losses, temperature, and aging. Example: 25 mA × 12 h / 0.8 ≈ 375 mAh → choose a 400–500 mAh pack.
- Check C‑rating for peaks:
Max continuous (A) = Capacity (Ah) × C.- If your 500 mAh (0.5 Ah) pack is rated 2C, that’s 1.0 A continuous. Short peaks (e.g., 150–300 mA radio bursts) are fine with margin. Also confirm the PCM’s over‑current threshold so your device’s peaks don’t trip it.
- Fit in the enclosure: confirm thickness and footprint; keep cells away from hot components.
Tip: Start with a slightly larger capacity than your math says if space allows. You can step down later once firmware optimizations and sleep modes are dialed in.
Charging the right way: CC/CV, termination, and temperature
LiPo cells are charged with two main phases: constant current (CC) until the cell approaches 4.2 V, then constant voltage (CV) holding at 4.2 V while the current tapers down. This is the behavior documented in widely used charger ICs like the LTC4054‑4.2 datasheet and Texas Instruments’ bq24073 datasheet.
Practical settings for small wearables:
- Charge voltage: 4.2 V per cell (standard Li‑ion).
- Charge current: ~0.5C is a safe default (e.g., 250 mA for 500 mAh). Faster (up to 1C) is often allowed if your cell’s datasheet says so, but slower generally improves longevity.
- Termination: many chargers stop when current tapers to roughly 0.1C (10% of the set charge current), as described in common charger datasheets like the LTC4054‑4.2.
- Temperature: charge only in a safe range (commonly 0–45 °C for Li‑ion polymer; see Epec pouch pack temperature ranges). Below 0 °C, disable charging in firmware or via the charger’s thermistor input.
Optional but helpful: add a small NTC thermistor to the charger IC’s temperature input so hardware blocks charging when the pack is too cold or too hot.
Safety and compliance essentials (so you can ship prototypes and products)
You don’t need to become a certification engineer, but you do need to know the landmarks:
Product safety standards often requested for rechargeable lithium batteries in consumer devices include IEC 62133‑2 for lithium systems (cells and batteries) and, depending on market/retailer, UL 1642 (cell‑level) and UL 2054 (pack‑level). The scope and safety test intent for IEC are outlined in the IEC 62133‑2:2017/A1:2021 scope page. Engage a test lab early if you’re going to market.
Transport (UN 38.3): any lithium cell or battery shipped by itself or inside equipment typically must have passed the UN 38.3 test sequence, and the manufacturer/distributor must make a Test Summary available on request. This requirement is captured in the UN Manual of Tests and Criteria, Rev. 7 (UNECE), subsection 38.3. Always obtain the UN 38.3 Test Summary from your supplier before shipping samples.
Air shipping state‑of‑charge (SoC) limits: the IATA Lithium Battery Guidance (2025) reiterates that standalone lithium‑ion battery shipments by air are limited to ≤30% SoC (with evolving rules for “packed with equipment”). See the IATA Lithium Battery Guidance Document 2025 for details and current instructions.
Beginner’s compliance checklist:
- For any shipped cell/pack: ask your supplier for the UN 38.3 Test Summary PDF.
- For prototypes you plan to demo or ship by air: confirm SoC ≤30% and follow carrier packaging/marking rules per current IATA guidance.
- For consumer products: plan on IEC 62133‑2; discuss UL 1642/2054 expectations with your lab and target retailers early.
This section is informational, not legal advice. Always follow your specific cell’s datasheet and your test lab’s guidance.
Common mistakes (and quick fixes)
- Over‑discharging below ~3.0 V: implement a firmware cutoff near 3.2–3.3 V and use PCM‑protected packs.
- Charging in the cold (< 0 °C): block charging via thermistor/firmware until warmed.
- Reversed JST polarity: before plugging in, verify with a meter and the board’s pin markings; see the Adafruit polarity warning example.
- Underestimating peak current and C‑rating: measure peaks (radio bursts, haptics), then add margin; verify PCM current limits.
- Mechanical stress: don’t bend, compress, or pierce pouches; add strain relief for leads and clearance in the enclosure.
- Long‑term storage at 0% or 100%: store around 40–60% state of charge at room temperature.
Mini case study: a 24‑hour fitness band
Goal: 24 h of use with an MCU, IMU, HR sensor, and BLE.
- Measured average current: 18 mA idle + 7 mA sensor duty + 5 mA BLE advertising bursts averaged = ~30 mA.
- Target runtime: 24 h.
- Capacity estimate: 30 mA × 24 h / 0.8 ≈ 900 mAh → that’s too big for a slim band, so we adjust expectations. If the enclosure only fits ~5–6 mm thickness and ~300–500 mAh, we must optimize.
- Firmware/arch tweaks: lower sensor duty cycle (−5 mA), use aggressive sleep (−7 mA), reduce BLE intervals (−3 mA). New average ≈ 15 mA.
- Recalculate: 15 mA × 24 h / 0.8 ≈ 450 mAh → a 450–500 mAh pack could meet the goal.
- C‑rating check: If we pick 500 mAh at 2C, max continuous ≈ 1 A—well above 100–200 mA peaks for radio and haptics. Good.
- Charger: set ~0.5C = 250 mA. Ensure a thermistor input and no charging below 0 °C; CC/CV with termination near 0.1C per the LTC4054‑4.2 datasheet.
- Connector/polarity: JST‑PH‑2.0; verify red = + and black = − at the board per silkscreen; see the JST PH datasheet and remember polarity is application‑specific.
Result: realistic 24‑hour performance with a physically feasible pack, plus safe, reliable charging.
Handy cheat sheet (print this part)
- Start here default: 1S LiPo pouch 200–500 mAh with PCM + JST‑PH‑2.0; buck‑boost to system rail; CC/CV charger set to ~0.5C.
- Runtime quick math:
mAh ≈ (Avg mA × Hours) / 0.8; round up next size for margin. - C‑rating quick check:
Max A ≈ Ah × C; add headroom over peaks; confirm PCM current limit. - Charging guardrails: 4.2 V per cell; terminate near 0.1C; don’t charge below 0 °C; see CC/CV behavior in the LTC4054‑4.2 et TI bq24073 datasheets.
- Connectors: JST‑PH is common—verify polarity each time; see JST PH datasheet et le Adafruit polarity warning.
- Compliance: plan for IEC 62133‑2 (battery safety), UN 38.3 Test Summary on file, and IATA ≤30% SoC for standalone air shipments; see IEC 62133‑2 scope, UN 38.3 Manual Rev. 7et IATA 2025 guidance.
Final tips and next steps
- Prototype with a slightly larger cell than you think you need; shrink later after measurements.
- Put protections in layers: PCM on the pack, firmware low‑voltage cutoff, thermal interlocks for charging.
- Keep documentation: supplier datasheets, UN 38.3 Test Summary, and notes on polarity and wiring.
- Before scaling: talk to a certified test lab about IEC 62133‑2 and retailer expectations.
You’ve got this. With a sensible default, a bit of measurement, and a few guardrails, small LiPo batteries become straightforward—even for tiny wearables.