

Introduction: Why Safe Connector Replacement Matters in 2025
Upgrading or replacing your LiPo battery connectors isn’t just about performance—it’s about safety. Whether you’re building drones, RC cars, or DIY electronics, using the right connector helps prevent fires, equipment damage, and frustrating downtime. This guide will walk you through every step and give you the safety-first, confidence-boosting support you need—no matter your experience level.
Estimated Time: 1–2 hours
Difficulty: Beginner (JST), Intermediate (XT60, EC3), Advanced (Deans, Anderson)
Essentials Needed: Soldering iron, safety gear, patience
Section 1: Choosing the Right LiPo Connector for Your Application
Picking the correct connector means matching your battery’s needs to your project’s demands. Here’s an at-a-glance comparison to guide your choice:
| Type | Valeur nominale actuelle | Meilleure utilisation | Pour | Cons |
|---|---|---|---|---|
| XT60/XT90 | 60–90A | Drones, voitures RC | Reliable, easy to solder | Bulky for small builds |
| EC3/EC5/EC8 | 60–120A+ | RC planes, vehicles | Simple engage, robust | Larger, not universal |
| Deans/T-Plug | ~50A | Older RC models | Compact, legacy support | Tricky soldering |
| JST | 2–5A | Micro drones, LED | Lightweight, easy to swap | Low current only |
| Anderson, Molex, Tamiya | Varies | Robotics, niche use | Various sizes available | Application-specific |
Pro Tip: Always double-check your gear for connector compatibility—mismatched types can lead to shorts and failures.
For more detailed application mapping, read Types of LiPo Battery Connector (Vibms).
Section 2: Tools & Materials Checklist
Before you touch a battery, gather your supplies. Here’s your printable pre-job checklist:
- [ ] Temperature-controlled soldering iron (60W, fine tip)
- [ ] Quality rosin-core solder (60/40 or 63/37)
- [ ] Heat shrink tubing (to size)
- [ ] Safety goggles, flame-resistant gloves
- [ ] Wire strippers and cutters
- [ ] JST/JR removal tool (if applicable)
- [ ] Multimeter (for polarity & continuity)
- [ ] Soldering iron stand, cleaning sponge
- [ ] Fume extraction or desktop fan
Pro’s Corner: If you’re new, do a dry run with scrap wire—practice makes perfect, and mistakes here don’t carry risk!
Section 3: Safety Preparation—No Shortcuts!
Working with LiPo batteries involves real hazards: fire, thermal runaway, and chemical leaks. Here’s how to make your workspace safe:
- Location: Set up in a non-flammable, well-ventilated area. Keep a LiPo-safe bag or fire-resistant box nearby.
- Inspect Battery: Never work on a swollen, leaking, or physically damaged pack. If damaged, safely dispose of the battery according to EH&S lithium safety guidelines.
- PPE: Wear insulating gloves and eye protection. Avoid loose clothing and keep water or a sand bucket for emergencies.
- Disconnect Power: Make absolutely sure the battery is off and fully disconnected—never solder on a live battery!
Experience Tip: Cutting both leads at once with metal tools = instant short circuit. Always snip one wire at a time, fully separating before moving to the next.
Section 4: Step-by-Step Connector Replacement & Upgrade
Phase 1: Prepare Wires and Connectors
1. Strip Each Wire: Remove ~4mm of insulation from each battery wire, one at a time. 2. Tin Wires and Connector Pads: Heat your iron, touch solder to the wire and pad until a shiny coat forms—this speeds up the final join and prevents cold joints.
Checkpoint: If the solder beads up, the surface wasn’t clean—re-tin or lightly sand before retrying.
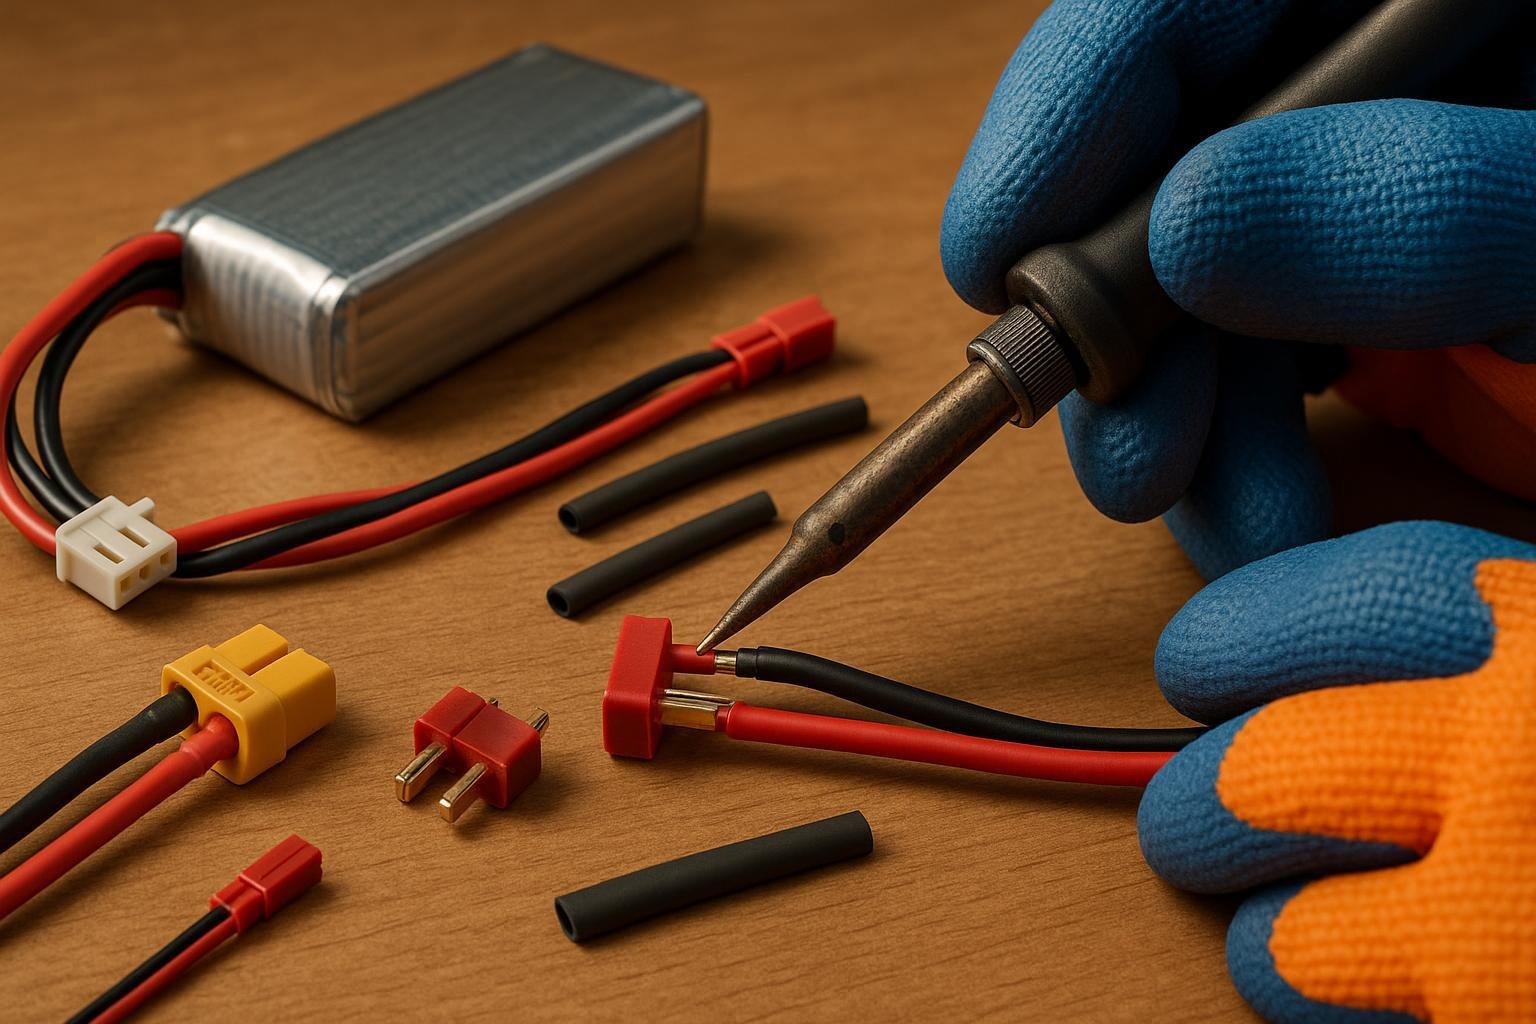
Phase 2: Soldering—The Make-or-Break Moment
3. Position and Join: Place the tinned wire on the connector pad or pin. Touch the iron to the joint for 2–3 seconds until solder flows smoothly—never more, or heat can damage the connector. 4. Remove Heat and Cool: Let the joint cool naturally. Don’t blow or touch it until solid. 5. Slide on Heat Shrink: Once cool, cover the joint with heat shrink tube and shrink with gentle heat (not direct flame).
Safety Callout: Never hold wires with bare hands close to hot solder—use tweezers or pliers for positioning.
Phase 3: Polarity—Double-Check or Risk Disaster
6. Confirm Wire Color: Red is positive (+), black is negative (–). 7. Test Polarity: Before powering up, use a multimeter—attach the black probe to negative, red to positive. If the reading is negative, the wires are reversed—resolder immediately. 8. Visual Review: Inspect connections for clean, shiny, secure joins. No dullness, cracks, or stray wires.
Pro Tip: Polarity mistakes cause instant component destruction—never skip this check!
Phase 4: Mechanical Fit & Final Touches
9. Verify Connector Engagement: Plug/unplug to confirm a solid snap or click. Loose fit = unsafe, redo. 10. Strain Relief: Tidy wires, tie down (with cable tie or tape), and ensure leads are secured against pulls or vibration.
Section 5: Verification—How to Confirm Success
- Continuity Test: Use a multimeter in continuity mode across terminals. A beep means good connection; silence means trouble.
- Load Test: Power up device with connector installed in safe mode—watch for heat, smoke, or erratic performance.
- Charging Test: Connect to your charger and check balance leads are recognized. Watch for normal charging behavior.
If you see any red flags—heat, no power, odd charging readings—do not continue use. Go directly to troubleshooting.
Section 6: Troubleshooting Chart—Quick Fixes for Common Problems
| Problem | Symptôme | Probable Cause | Solution |
|---|---|---|---|
| Reversed polarity | Negative voltage, device dead | Wrong wire orientation | Desolder, correct, retest |
| Cold solder joint | Dull, cracked, flickers/No power | Iron too cool/short heat time | Reheat, add solder/flux, redo joint |
| Connector melted/warped | Misshapen plastic, loss of fit | Too much heat or low quality | Replace connector, use proper temp |
| Intermittent contact | Flickers on/off | Poor solder, loose pins | Re-solder, clean or replace pin |
| Balance lead ignored | Charger won’t read cell | Damaged/dead lead | Repair/replace wire, retest charge |
Find more troubleshooting tactics and illustrations at Oscar Liang’s LiPo Guide.
Section 7: Long-Term Maintenance and Care
Routine Inspection Checklist:
- [ ] Visual scan before each use—look for cracks, discoloration, poor fit, or heat damage
- [ ] Monthly cleaning—wipe contacts with electronics cleaner/alcohol
- [ ] Strain relief check on all leads
- [ ] Replace connectors at the first sign of failure or fatigue
- [ ] For drones/RC cars: Inspect after every race or crash
Environment Matters: If you’re operating in dust, humidity, or high-vibration areas, increase inspection to after every flight/run.
Section 8: References and Further Reading
- How to Replace a Battery Connector (Ufine Battery)
- Ryan Hobbies: Lithium Battery Safety
- EH&S Michigan Lithium Safety Guidance (2025)
- Oscar Liang’s FPV/Battery Guides
- Visit RCGroups et IntoFPV Forums for community advice and troubleshooting.
Final Encouragement
Mistakes happen—even the pros have horror stories. The real difference is checking every step, putting safety first, and learning by doing. Take your time, double-check polarity, and don’t hesitate to reach out to hobbyist forums if you’re unsure. You’ve got this!