

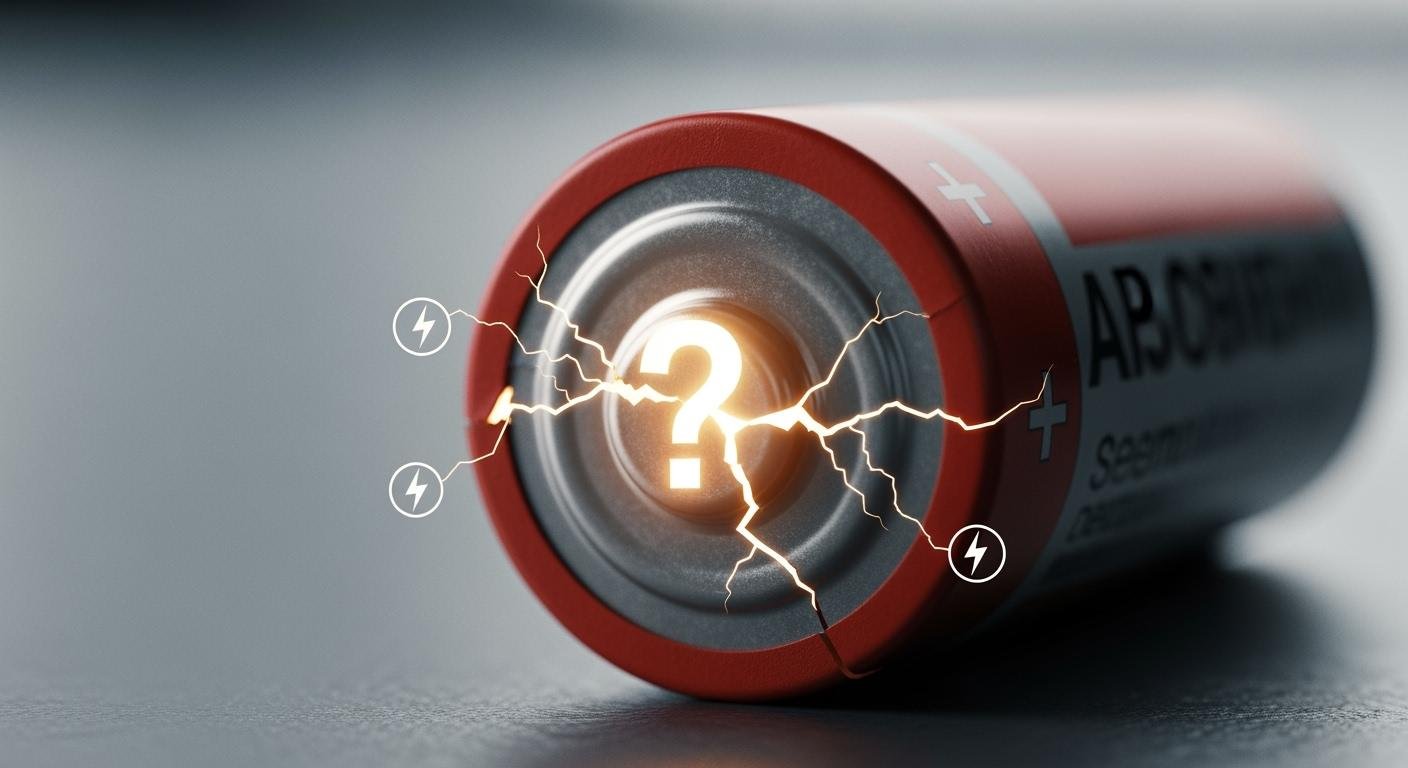
You might be surprised by the real battery failure causes. Many common habits can ruin a perfectly good battery. These costly mistakes often go unnoticed.
Did you know?
- Storing a battery fully charged can shorten its life.
- Leaving your battery on the drill slowly drains it.
- The tool itself might be the reason your battery fails.
These simple actions can lead to premature battery replacement.
Common Battery Failure Causes
You can extend your battery’s life by avoiding a few common issues. Simple changes to your routine can prevent premature failure and save you money. Understanding these battery failure causes is the first step toward better tool maintenance.
Deep Discharging Damage
You might think running your drill battery until it’s completely dead is normal. However, this habit causes permanent damage. Deep discharging a lithium-ion battery can lead to internal problems.
- Copper deposits can form inside the battery.
- Active materials can break down.
- This damage permanently reduces the battery’s total capacity.
While modern lithium-ion batteries handle deep discharge better than older types, it still shortens their lifespan. If you notice your battery won’t hold a charge, past deep discharging could be the reason. A good practice is to recharge your battery before it is completely empty.
Extreme Temperature Exposure
Temperature is critical for battery health. Lithium-ion batteries perform best between 15°C to 35°C (60°F to 95°F). Using your drill in extreme heat or cold leads to poor performance and damage.
High heat accelerates degradation. It causes side reactions that increase internal resistance and can lead to overheating. Cold weather is also harmful. Freezing temperatures can:
- Significantly reduce battery capacity.
- Slow down internal chemical reactions.
- Cause a sharp decline in cycle life.
This is one of the most overlooked battery failure causes. Always bring your batteries inside from a hot truck or a cold garage.
Improper Long-Term Storage
How you store your battery pack matters. Leaving it on the charger or storing it fully charged for months is a mistake. A full charge puts stress on the cells, especially in warm conditions. This is a key reason a battery is not charging or performing well after storage.
For long-term storage, you should charge your battery to about 50%. Store it in a cool, dry place, ideally between 50°F and 85°F.
The following chart shows how much capacity is lost after one year when a battery is stored at different temperatures and charge levels.

Proper storage is simple and effective.
Physical Damage and Connection Issues

Physical problems with your battery pack are often easy to spot. A quick visual check can save you from poor performance and serious safety hazards. Ignoring these signs is one of the most direct battery failure causes.
Swelling and Aged Batteries
You should regularly inspect your batteries for physical damage. Look for cracks in the casing or any noticeable swelling. A swollen battery is a clear sign of internal failure. Gas builds up inside from issues like overcharging, high heat, or simple aging. This pressure can cause the pack to expand.
Safety Alert: Never use a swollen or cracked battery. The internal pressure creates a serious risk of fire or explosion. You must safely dispose of and replace the battery immediately.
Aging also affects performance. Over time, a battery’s internal resistance increases, making it harder for power to flow. If your drill feels weak even with a charged battery, it might be time to replace worn-out batteries. This simple check can prevent you from needing to replace the battery pack unexpectedly.
Dirty or Corroded Contacts
Sometimes the problem is not inside the battery but on its surface. Check the metal contacts on both your battery and your drill. Dust, sawdust, and grime can build up and create poor connections. This debris increases electrical resistance, which makes your tool work harder and generates excess heat.
Corrosion is even more damaging. It acts as an insulator, blocking the flow of electricity. This can make a good battery seem dead. Simple maintenance can fix this issue.
You can safely clean dirty contacts.
- First, remove any loose debris with a dry cloth or a soft brush.
- For tougher grime or light corrosion, use a cotton swab dipped in isopropyl alcohol.
- Gently scrub the contacts on the tool and the battery until they are shiny.
Always let the contacts dry completely before reattaching the battery. Keeping these contact points clean is a crucial part of your tool maintenance routine.
Tool-Related Power Tool Problems
Sometimes, the battery is not the problem at all. You might find that your power tool problems stem from the tool itself. A faulty drill can damage a good battery, leading to poor performance and costly replacements. Understanding this can save you from buying a new battery you do not need.
When the Tool Is the Culprit
A defective tool is one of the most frustrating battery failure causes. Your drill might have a faulty protection circuit, causing the battery to drain too fast or experience overheating. If your drill is losing power quickly, the tool itself could be the issue. Another common problem involves worn carbon brushes in older drill models. Worn brushes can cause symptoms that mimic a failing battery.
- Your drill has a noticeable drop in power.
- You smell something burning during use.
- You see excessive sparking from the motor housing.
If you notice unusual noise or overheating, stop using the tool. These signs indicate a need for repair, not a reason to replace the battery.
Diagnosing Tool vs. Battery Issues
You can troubleshoot these power tool problems with a simple test. To start, check the power source by placing your battery into a different tool that you know works well. If the battery performs normally in the second tool, your original drill is likely the problem. If your drill won’t turn on or you have a drill stuck or not spinning, this test can quickly help you diagnose and fix the issue.
For a more detailed check, you can use a multimeter to test internal components of the battery.
- Set your multimeter to DC volts.
- Touch the red probe to the positive (+) terminal and the black probe to the negative (-) terminal.
- A fully charged battery should show a voltage at or slightly above its rating (e.g., 18V or 20V).
A low reading confirms a battery issue. A healthy reading points back to the tool. This process helps you accurately diagnose and fix the problem without guessing. You should always check for overheating in both the tool and battery during use.
Incorrect Charging Practices

Your charging habits directly impact your battery’s lifespan. Using the wrong charger or ignoring best practices can lead to damage and safety risks. You can protect your investment by understanding the right way to power up your tools.
Dangers of Incompatible Chargers
You might think any charger that fits is safe to use. This is a dangerous mistake. An incompatible charger can permanently damage your drill battery. The voltage must match your battery’s requirements exactly.
- Too much voltage can fry the internal circuits.
- Too little voltage will prevent the battery from charging at all.
Amperage is also important. A charger with lower amperage than required may overheat and fail. You should also inspect the charger and connections for correct polarity. A mismatch can ruin both the charger and your tool. These issues make a cheap, third-party charger a risky choice.
The Importance of OEM Chargers
Your tool’s original equipment manufacturer (OEM) charger is always the safest option. This charger is designed specifically for your equipment. It communicates with the battery to optimize performance and prevent damage.
OEM chargers include smart technology. They use temperature sensors and tailored algorithms to avoid overcharging. This protects the cells from stress and extends their life.
These chargers also have critical safety features built-in, such as thermal and overcurrent protection. This prevents overheating and stops the flow of power if a fault is detected, protecting your drill from harm. While a quality third-party charger with a UL or ETL certification can be an alternative, the OEM charger guarantees perfect compatibility and safety. It is the best way to prevent overcharging and ensure your tool’s longevity. The right charger and clean connections are essential for reliable power.
You can protect your tools with simple, consistent maintenance. Proper maintenance is key to performance and longevity. Follow these tips to get the most from your equipment:
- Recharge your drill before it is completely empty.
- Store tools in a cool, dry place at 50% charge.
- Keep metal contacts clean on your tools and charger.
- Always use the correct OEM charger.
- Test your tool to rule it out as the problem.
Extending equipment life also reduces waste and the environmental impact of manufacturing.
By avoiding these common mistakes, you can take control of your tool’s health and maximize the return on your investment.
FAQ
Why won’t my drill hold a charge anymore?
Your drill may not hold a charge due to aging or past deep discharging. These issues permanently reduce capacity. You should also check for dirty contacts on the tool and power pack, as this can prevent a solid connection and proper charging.
What should I do if my drill feels hot?
You should stop using the tool immediately. Overheating can damage both the tool and its power source. Let your drill cool down completely. This issue can stem from a faulty tool, a blocked vent, or an incompatible charger creating excess heat.
How can I troubleshoot poor performance?
You can easily troubleshoot the issue. First, test your power pack in a different, working tool. If it works well there, your original drill is likely the problem. This simple test helps you identify the source of the poor performance without guessing.
Can I use any charger for my drill?
No, you should always use the charger designed for your specific drill model. Using an incompatible charger can cause permanent damage, overheating, or prevent charging altogether. The original manufacturer’s charger is the safest and most effective option for your tool.